Photo by Maxime Lebrun on Unsplash
備忘録も兼ねて、 WordPressでテスト駆動開発 を行うため、WordPressのプラグイン開発環境にPHPUnitをインストールする方法を書いてみます。
次のインストールを行います。
- WP-CLI‥WordPressをコマンドラインから操作するためのツール。
- PHPUnit‥WordPressで使っているPHP言語用に作られたテスティングフレームワーク。
ここでは、次の環境で動作確認をしています。
・MacOSX Mojave
・MAMP 5.7
・Visual Studio Code 1.46.1(今回は使いません)
※動作を保証するものではありません。ご利用はあくまでも自己責任でお願いします。
● WP-CLIのインストール
Macの場合、Homebrewを使ってインストールしてみます。
「ターミナル」を起動して、
brew install wp-cli
インストールに問題なければ、以下のコマンドで次のように表示されます。
wp --info
OS: Darwin 18.7.0 Darwin Kernel Version 18.7.0: Mon Feb 10 21:08:45 PST 2020; root:xnu-4903.278.28~1/RELEASE_X86_64 x86_64
Shell: /bin/bash
PHP binary: /Applications/MAMP/bin/php/php7.3.9/bin/php
PHP version: 7.3.9
php.ini used: /Applications/MAMP/bin/php/php7.3.9/conf/php.ini
WP-CLI root dir: phar://wp-cli.phar/vendor/wp-cli/wp-cli
WP-CLI vendor dir: phar://wp-cli.phar/vendor
WP-CLI packages dir:
WP-CLI global config:
WP-CLI project config:
WP-CLI version: 2.4.0
WP-CLIはwpの後にサブコマンドをつけて使います。
どんなサブコマンドがあるかなどはhttps://wp-cli.org/ja/をご覧ください。
● PHPUnitのインストール
まず、MAMPにPHPUnitはついてきますが、PHP5.6対応のものですので、
PHP7系を使う方は、新しくダウンロード&インストールをしましょう。
WordPressが現時点でサポートしているPHPUnitはPHPUnit 7系です。
PHPUnit7はPHP7.1、7.2、7.3に対応しています。
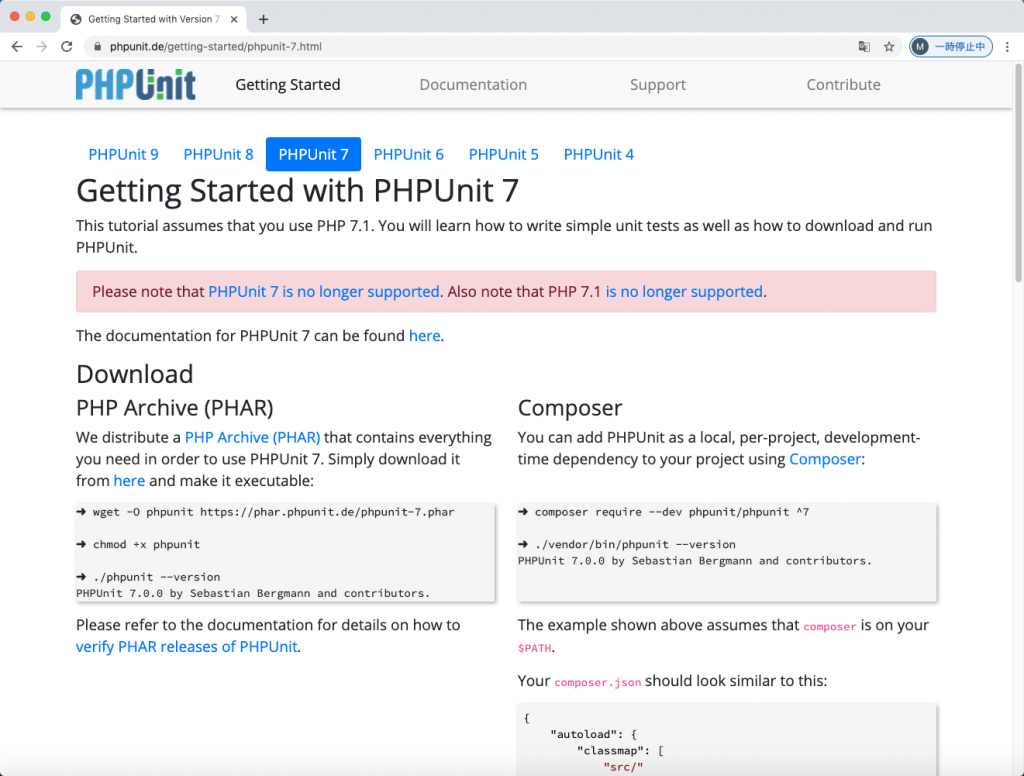
PHPUnitのホームページにアクセスします。
https://phpunit.de/getting-started/phpunit-7.html

PHARの場合、ページにある「here」をクリックしてダウンロードしました。
Composerの場合は、PHPUnitのホームページ画面の指示にしたがってください。
ダウンロードしたファイル「phpunit-7.5.20.phar」をMacのFinderで、MAMP > Library > binの中へドラッグ&ドロップします。
ターミナルから
cd /Applications/MAMP/Library/bin/
chmod +x phpunit-7.5.20.phar
ln -s -f phpunit-7.5.20.phar ./phpunit
phpunit --version
と入力をして、
PHPUnit 7.5.20 by Sebastian Bergmann and contributors.
となれば、OKです。
● テストのためのひな形を作成
WP-CLIを使って、テストのためのひな形を作成します。
ここでは、次の名前を使うことにします。環境に合わせて読み替えてください。
・「wordpress」‥WordPressをインストールしたフォルダの名前
・「nanashi-no-plugin」‥作成するプラグインの名前
ターミナルから
cd /Applications/MAMP/htdocs/wordpress/wp-content/plugins/nanashi-no-plugin/
wp scaffold plugin-tests nanashi-no-plugin
と入力して、
Success: Created test files.
となれば、
以下のようなフォルダとファイルが作成されます。
\—nanashi-no-plugin
+—bin
| | install-wp-tests.sh
| nanashi-no-plugin.php( プラグイン本体のファイル ここでは手動で作成 )
| phpunit.xml.dist
+—tests
| | bootstrap.php
| | test-sample.php
● PHPUnitで使うテスト用のWordPressを用意する
PHPUnitテストは、開発環境でもテストのための一時的なWordPress環境を用意して、テストを行います。
ターミナルから、
1.
cd /Applications/MAMP/htdocs/wordpress/wp-content/plugins/nanashi-no-plugin/
2.
bash bin/install-wp-tests.sh nanashi-no-plugin_test root 'root' 127.0.0.1:3306 latest
と入力し、
install_wp
( 〜 中略 〜 )
'[' 3306 ']'
EXTRA=' --host=127.0.0.1 --port=3306 --protocol=tcp'
mysqladmin create nanashi-no-plugin_test --user=root --password=root --host=127.0.0.1 --port=3306 --protocol=tcp
と表示されれば、OKです。
もし、この時
mysqladmin: [Warning] Using a password on the command line interface can be insecure.
mysqladmin: CREATE DATABASE failed; error: 'Can't create database 'nanashi-no-plugin_test'; database exists'
となったら、一度、データベースを削除する必要がありますので、
mysqladmin drop nanashi-no-plugin_test --user="root" --password="root"
と入力し、
mysqladmin: [Warning] Using a password on the command line interface can be insecure.
Dropping the database is potentially a very bad thing to do.
Any data stored in the database will be destroyed.

Do you really want to drop the 'nanashi-no-plugin_test' database [y/N]
「y」を入力して、
Database "nanashi-no-plugin_test" dropped
と表示されたら、OKです。再度、2.を行います。
● PHPUnitを実行してみよう
環境はできました。
続いて、ファイルの一部を変更します。
ファイル「phpunit.xml.dist」を以下のようにコメントアウトします。
<testsuites>
  <testsuite>
    <directory prefix="test-" suffix=".php">./tests/</directory>
    <!-- <exclude>./tests/test-sample.php</exclude> -->
  </testsuite>
</testsuites>
PHPUnitを動かしてみましょう。
ターミナルから、
phpunit
と入力し、
Installing...
Running as single site... To run multisite, use -c tests/phpunit/multisite.xml
( 〜 中略 〜 )

Time: 2.49 seconds, Memory: 38.50 MB

OK (1 test, 1 assertion)
と表示されれば、OKです。
うまく動きましたでしょうか。
